Kompozer
There are many editors out there, that will assist in writing the HTML
code for a web page. However they usually force the user to work
with the actual code. Instead of that, we will be using an editor
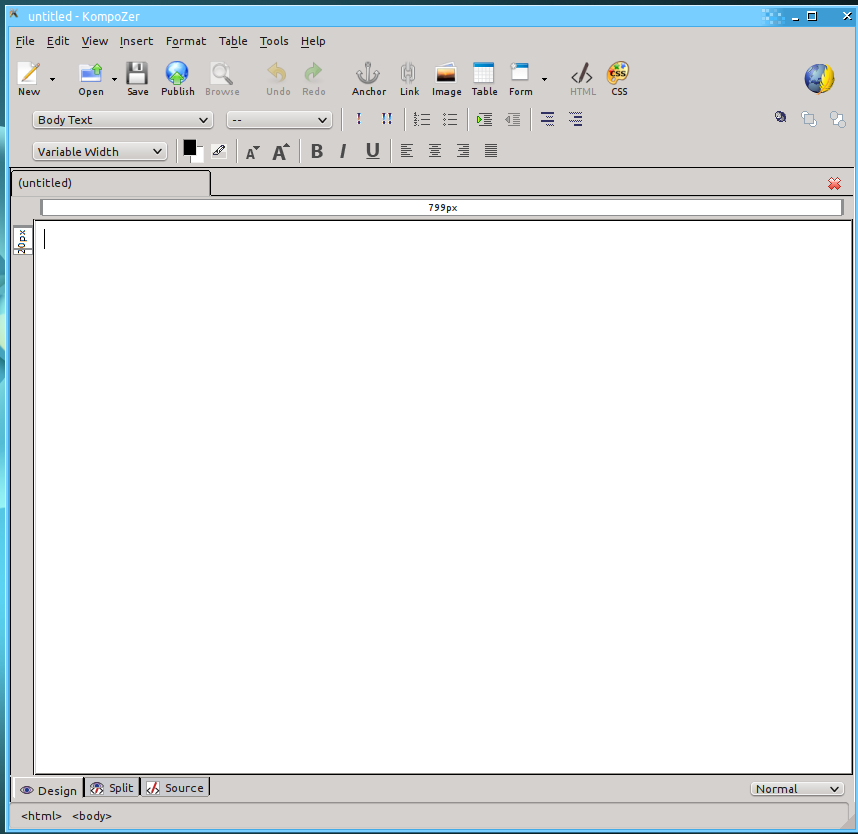
called Kompozer, which allows you to edit web pages in much the same
way as you would edit a Microsoft Word document. This type of editor is
called a What You See Is What You Get (or WYSIWYG, pronounced
whi-see-wig) editor. This type of editor probably won't be very
useful to a professional web-site creator, but it is great for starting
out because it allows you to seamlessly bounce back and forth between
the code for the page and a view of the page that you can see what it
looks like (and edit it). Once you get the basics down, then you can
move on to more advanced design tools.
Writing text, formatting
Writing text for your page works in a manner that is very similar
to
Microsoft Word or Open Office Write. You type text in the main
window, and then use the buttons in the toolbar to format it.
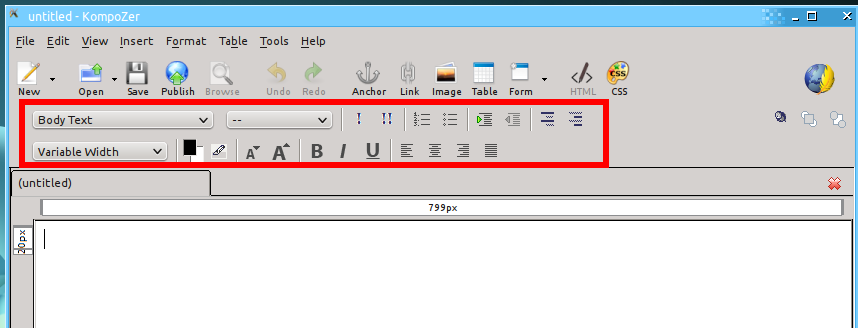
There are two lines of tools for formatting, located below the main
tool bar and above the document. The first line has the following
tools, from left to right:
Text format - This allows you to specify that text is a section header,
part of the body of the text, or a few other options.
Empty Bar - Ignore the next drop down.
Emphasize - Will add emphasis to text (basically the same as
italics).
Strong Emphasize - Will add strong emphasis to text
(basically the same as bold).
Numbered List - Creates a lits where items are sequential in order.
Bulleted List - Creates a list where items aren't in a particular
order, so have bullets in front of them.
Increase Indent - Moves the section of text further to the right.
Decrease Indent - Moves the section of text further to the left.
On the second line are the following tools:
Font - Pick the font you want to use. Be careful with this, as web
pages need to be viewed from all computers and not all computers have
the same fonts installed.
Text/Background Color - Pick the color of the text and/or background.
Highlighter - Highlight text
Decrease Text Size - Make text smaller.
Increase Text Size - Make text larger.
Bold - Make text bold.
Italics - Put text in italics
Underline - Put a line under the text.
Left Justify - Make the left side of the text lineup
Center - Make each line of text centered
Right Justify - Make the right side of the text lineup
Align Justified - Stretch the text so that both the left and right
sides lineup
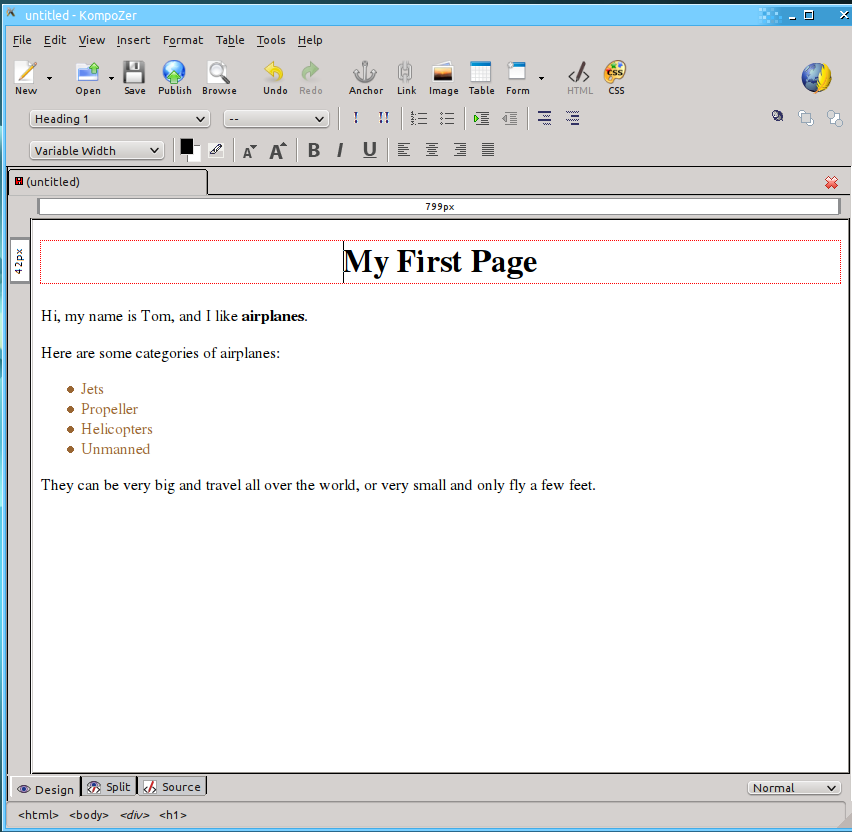
Go ahead and write some text about you and some topic that interests you. Use the various formatting tools.
Links
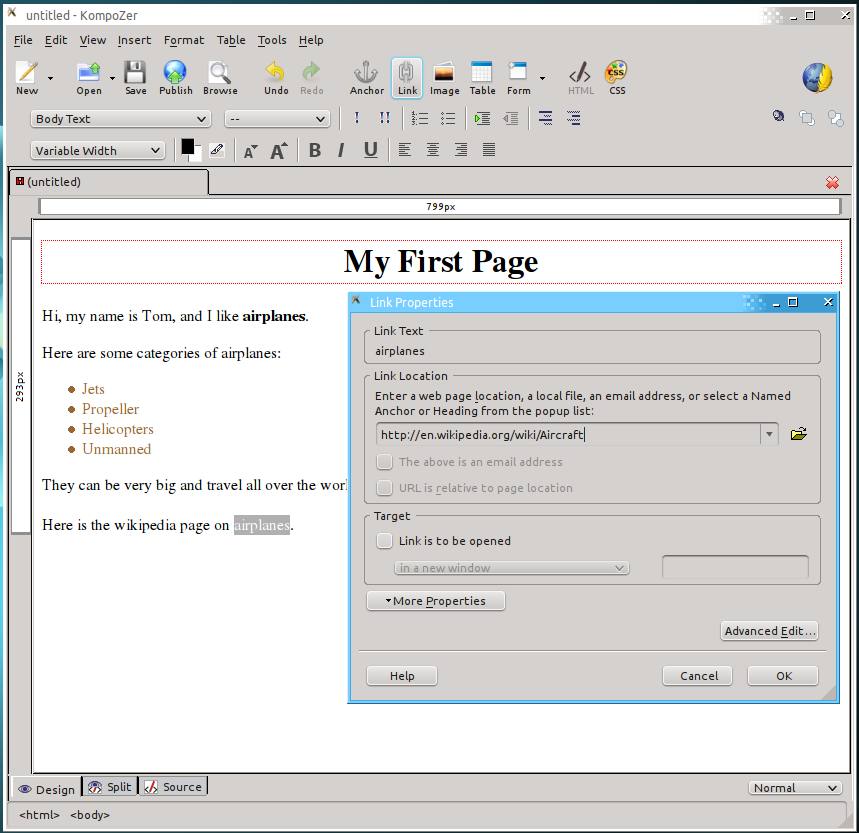
Links are the key to any web page. To make a link, select the text that
you want to be the link. Then click the Link button from the main
toolbar. Now you can enter the address of the web page you want
the link to go to. This can be a full URL (called "absolute") like
http://google.com/MyPage.html or it can be a local URL (called
relative) like MyFolder/MyPage.html. Then click OK. That's
all there is to it!
Now go to your example page that you are creating, and add a link to the Wikipedia page for your topic.
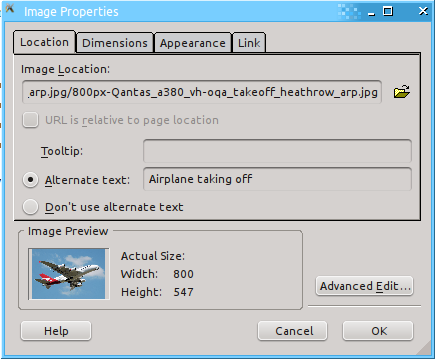
Images
Putting an image in a page with Kompozer is similar to a link.
Click the spot where you want the link to go, then click the image
button from the main toolbar. Here you enter the URL for the
image. In addition, every time you put in an image, you should enter
the alternate text for the image. This allows people to read what the
image is about before it loads and allows people who can't see the web
page to still understand what is on the page.
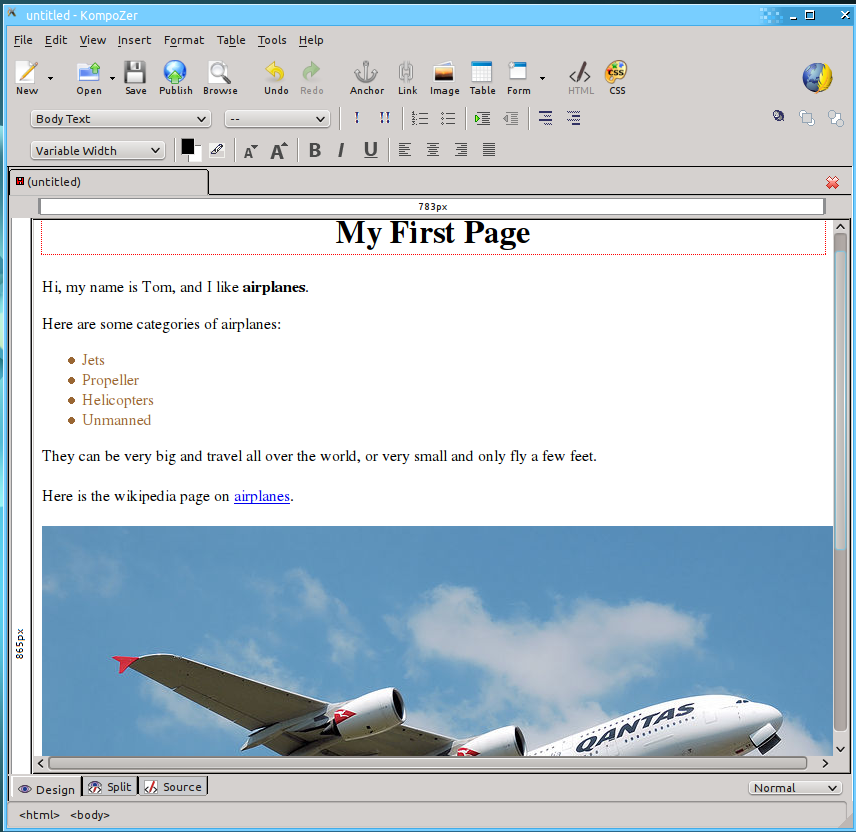
Again adding on to our example page, add an image about your topic of choice.
So now our final page will look something like this:
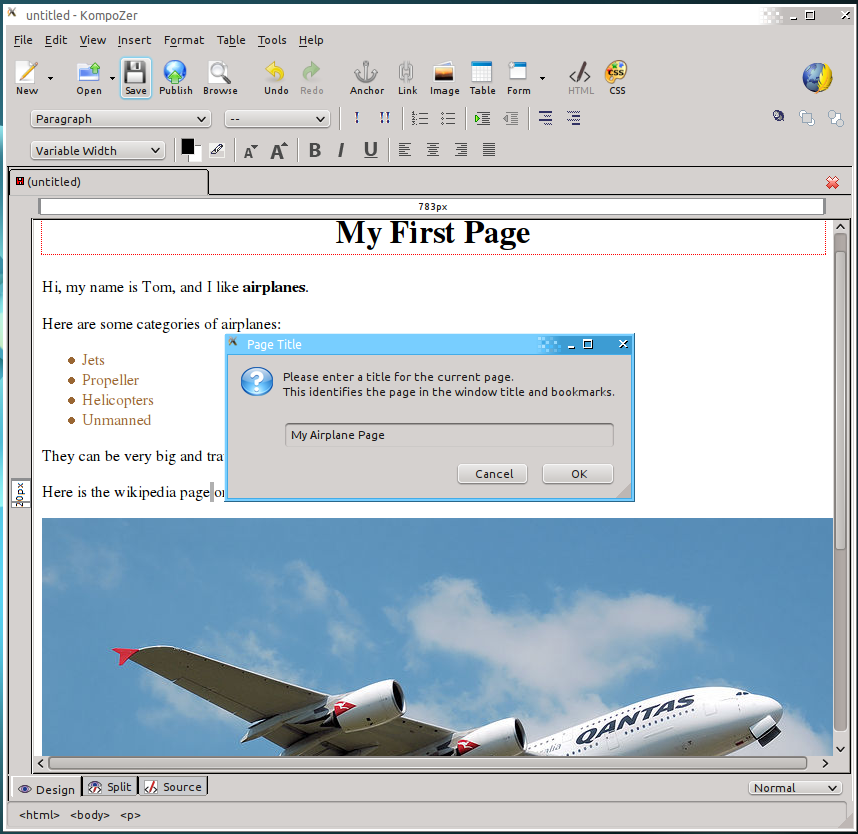
Now that we have a complete page, we'll need to save it. Just
click the save button up at the top of the window. This will pop up a
dialog asking you what you want the title of your page to be. The title
is what will show up in the tab of your browser window, but not
actually within the page.
View Source/Split
One of the most important parts of any web page editor is the ability
to look at the code for the page. Because HTML is very complicated and
can do many different things, it isn't possible to make an editor like
Kompozer that can do everything graphically. Sometimes an author will
need to go into the code and make changes because it is the only way to
do it. Other times, it is just faster to make changes in the code view.
Either way, it is an important feature to have.
There are two different modes for viewing the code in Kompozer.
The first is the Split view. If you look at the bottom of the screen,
you will see the split tab between the Design (the view we've been
using so far) and Source tabs. This view will show you just the
portion of the code that is relevant to where you have your mouse
cursor. Go put your cursor on the line with your link, and then select
the Split view.
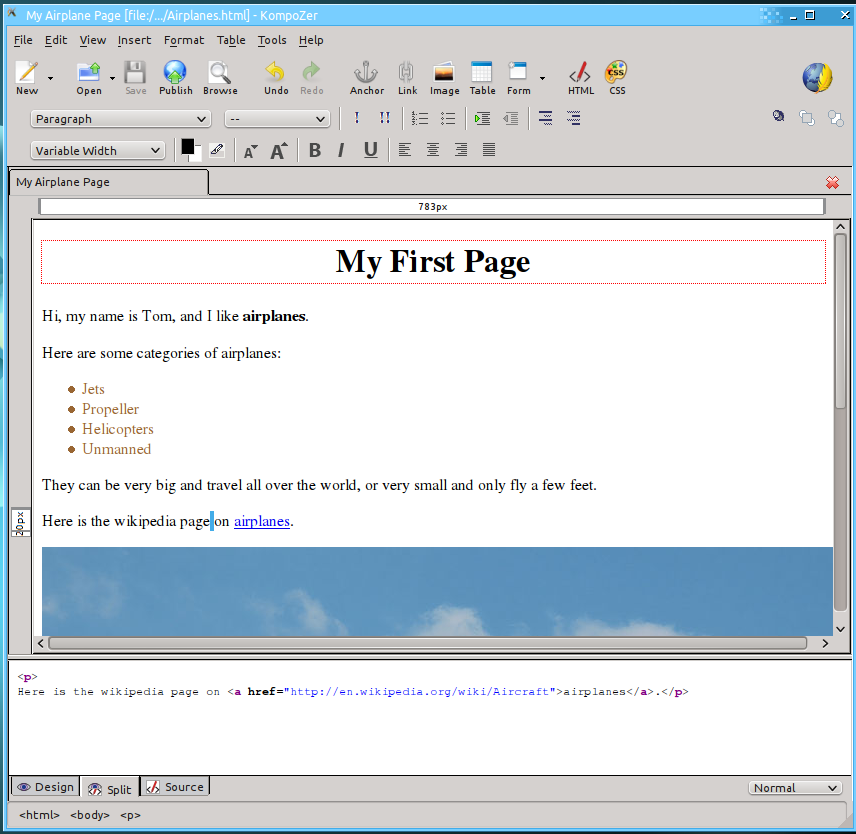
You'll notice here that you can see the <a href="">...</a>
tag for the link, as well as the <p>...</p> tags for this
paragraph. This mode is great for editing a small piece of code in the
page.
The final viewing mode for Kompozer is the source mode. This is the
most powerful mode, and lets you see all the source for the page at one
time. Once you have a good feel for all the tags and code in HTML, it
is very easy to use the source mode to make a lot of changes to the
page, very quickly.

You can see in the source view that all the tags are right there, easy to pick out.
That's about all you need to know to make some basic pages using Kompozer.